


-10%
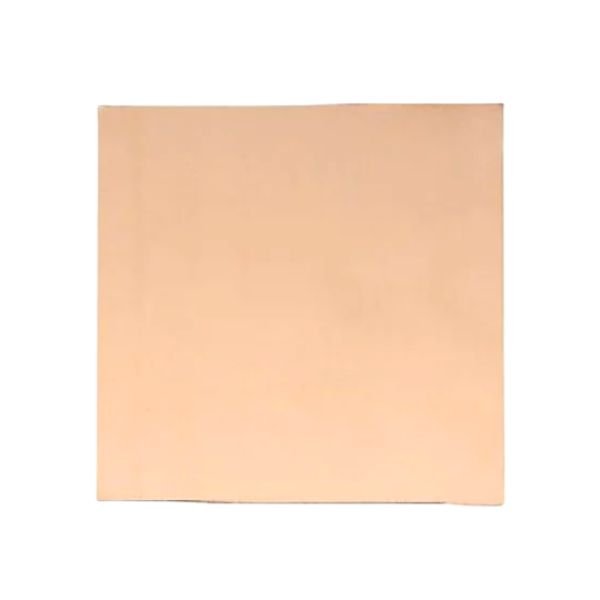
12×12 Inch Single-Sided Copper Clad Laminate PCB Board
In stock
Original price was: ₹321.00.₹289.00Current price is: ₹289.00. (Inc. GST)
-11%
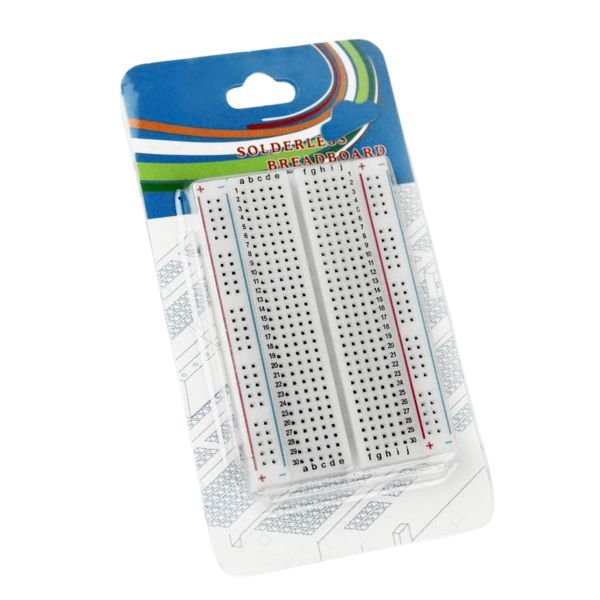
400 Points Breadboard
In stock
Original price was: ₹45.00.₹40.00Current price is: ₹40.00. (Inc. GST)

-21%
6×4 Inch Double-Sided Copper Clad Laminate PCB Board
In stock
Original price was: ₹125.00.₹99.00Current price is: ₹99.00. (Inc. GST)
-21%
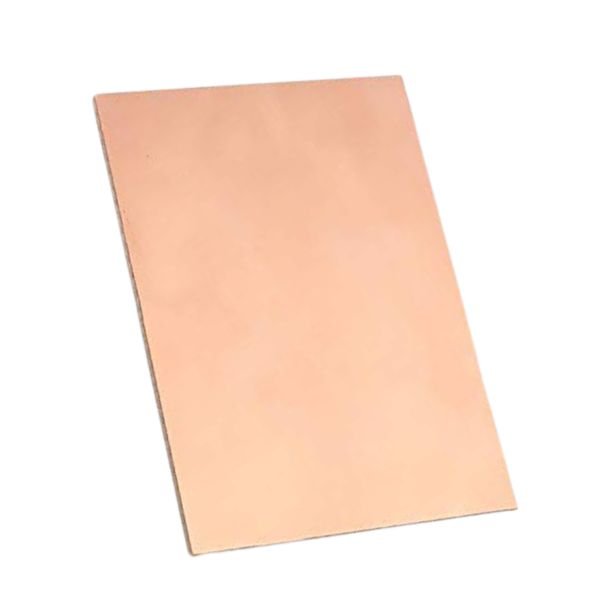
6×4 Inch Single Sided Copper Clad Laminate PCB Board
In stock
Original price was: ₹63.00.₹50.00Current price is: ₹50.00. (Inc. GST)
-24%
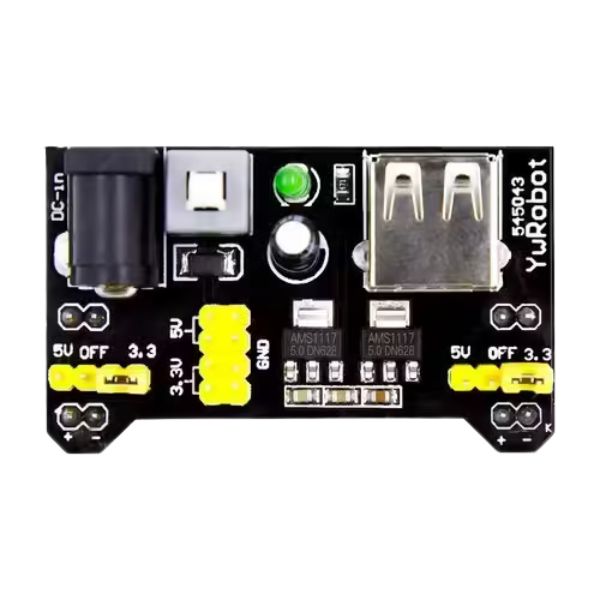
Breadboard Power Supply Module 3.3V-5V
In stock
Original price was: ₹86.00.₹65.00Current price is: ₹65.00. (Inc. GST)

-29%
GL-12 830 Points Breadboard
In stock
Original price was: ₹106.00.₹75.00Current price is: ₹75.00. (Inc. GST)
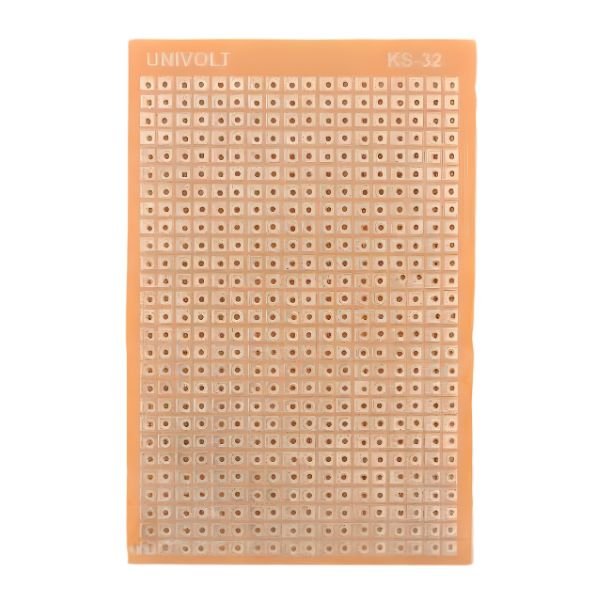
-29%
KS-32 Single Side Vero PCB Board 3 x 2Inch – High Quality
In stock
Original price was: ₹31.00.₹22.00Current price is: ₹22.00. (Inc. GST)
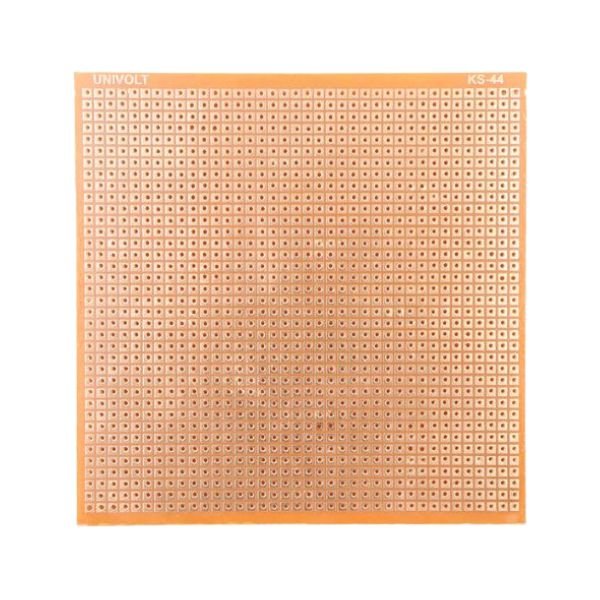
-15%
KS-44 Single Side Vero PCB Board 4 x 4 Inch – High Quality
In stock
Original price was: ₹53.00.₹45.00Current price is: ₹45.00. (Inc. GST)
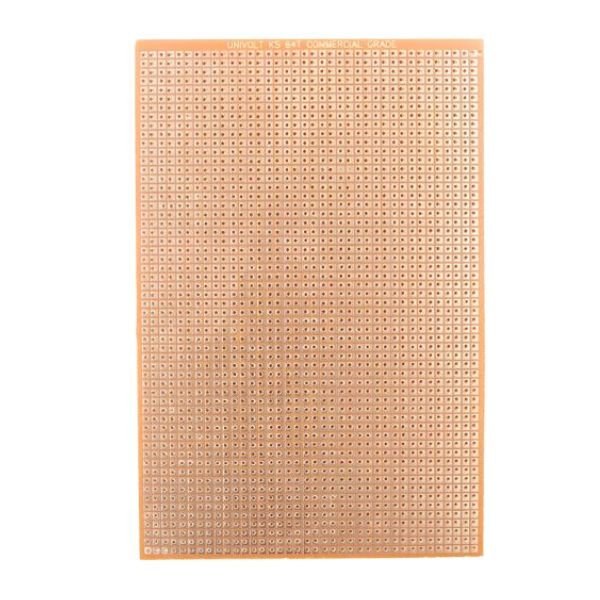
-25%
KS-64 Single Side Vero PCB Board 6 x 4 Inch
In stock
Original price was: ₹73.00.₹55.00Current price is: ₹55.00. (Inc. GST)
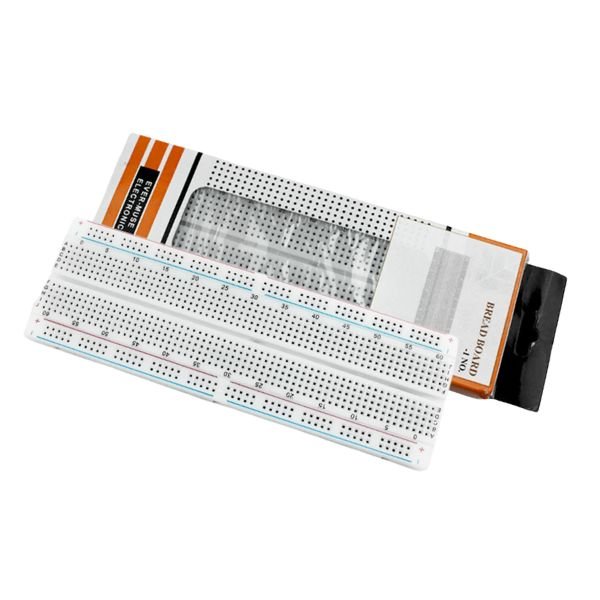
-10%
MB102 Breadboard 830 Points
In stock
Original price was: ₹83.00.₹75.00Current price is: ₹75.00. (Inc. GST)
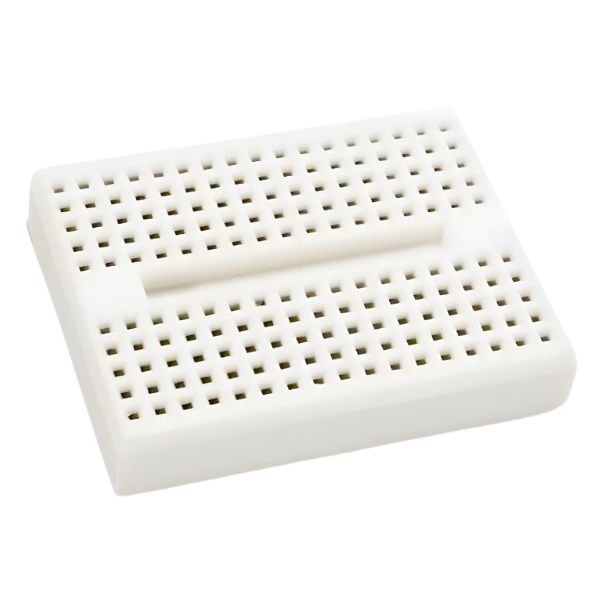
-17%
Mini 170 Points Breadboard
In stock
Original price was: ₹24.00.₹20.00Current price is: ₹20.00. (Inc. GST)
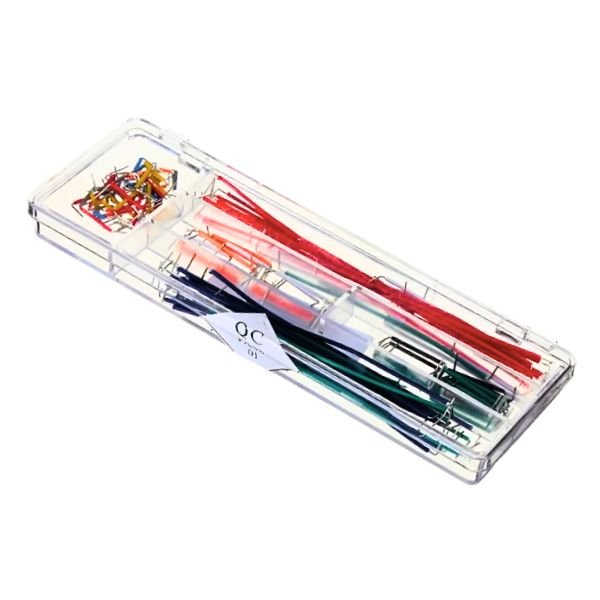
-23%
U Shape Solderless Breadboard Jumper Cable Wire Kit – 140 Pieces Pack
In stock
Original price was: ₹153.00.₹118.00Current price is: ₹118.00. (Inc. GST)