


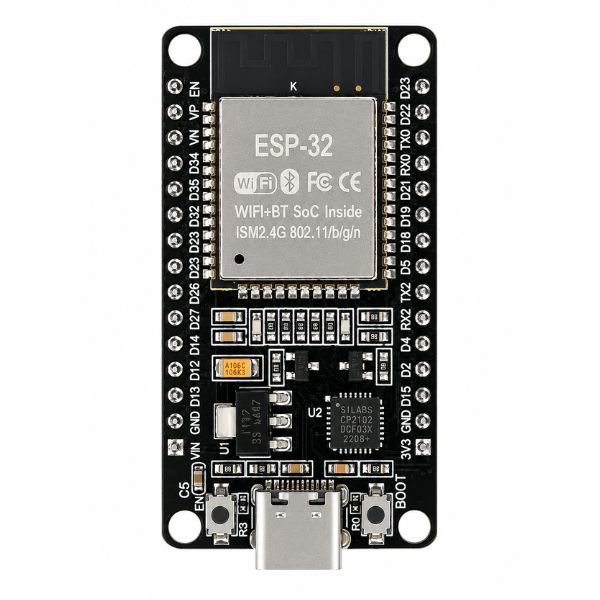
30 Pin ESP32 Development Board Wifi + Bluetooth CP2102 Type-C
In stock
Original price was: ₹558.00.₹430.00Current price is: ₹430.00. (Inc. GST)
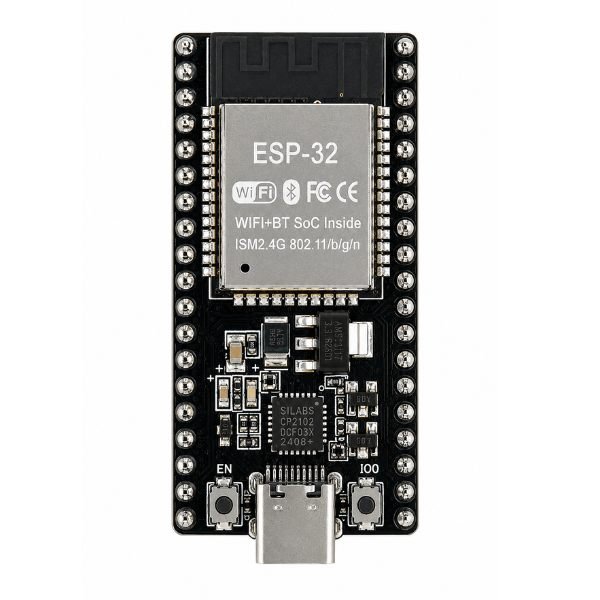
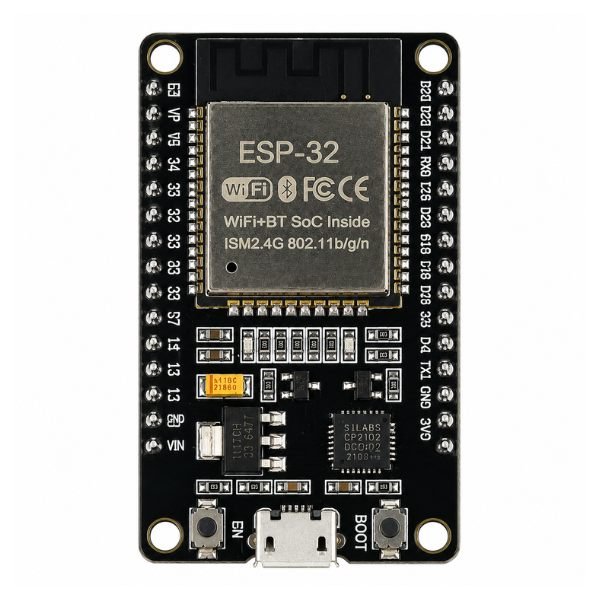
38 Pin ESP-32S Development Board Wifi + Bluetooth CP2102 Type-C
In stock
Original price was: ₹524.00.₹430.00Current price is: ₹430.00. (Inc. GST)
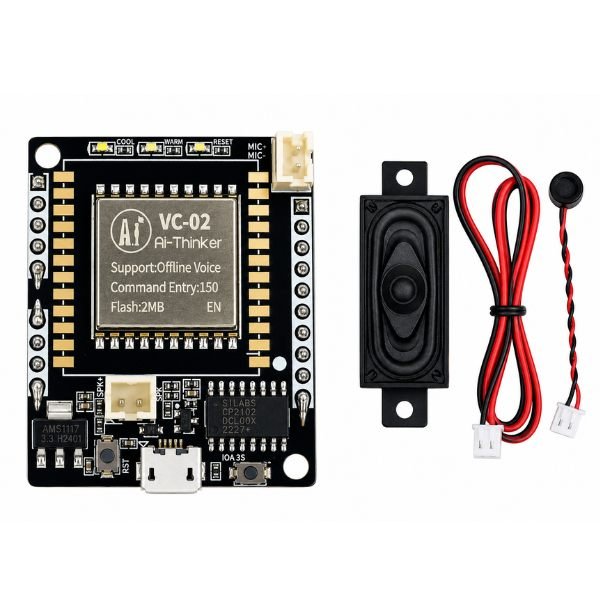
Ai-Thinker VC-02 Voice Recognition Control Module
In stock
Original price was: ₹914.00.₹695.00Current price is: ₹695.00. (Inc. GST)
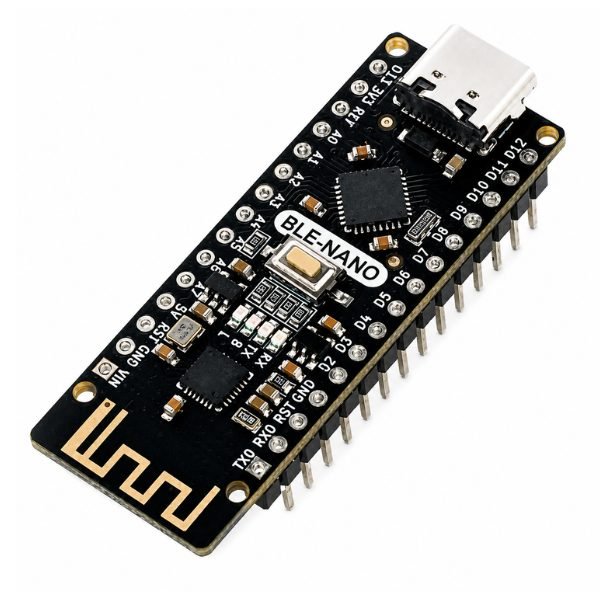
BLE-Nano 4.2 Devlopment Board Type-C Integrated CC2540
In stock
Original price was: ₹1,747.00.₹1,415.00Current price is: ₹1,415.00. (Inc. GST)
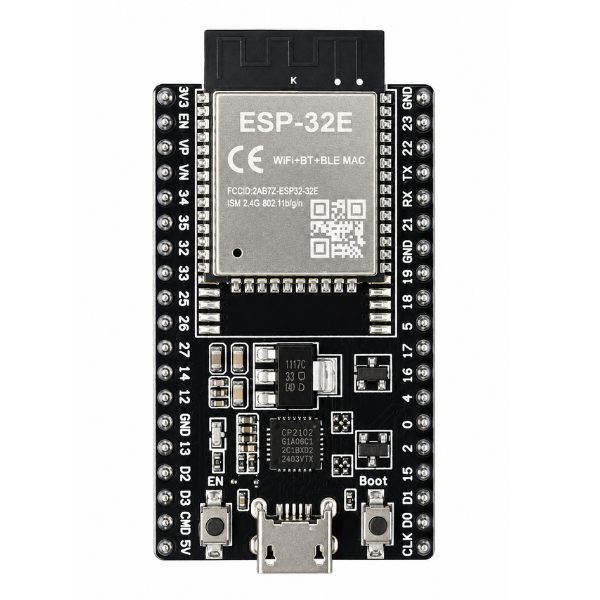
ESP 32E DevKitC V4 38-Pin Development Board 2.4GHz WiFi + Bluetooth
In stock
Original price was: ₹643.00.₹566.00Current price is: ₹566.00. (Inc. GST)
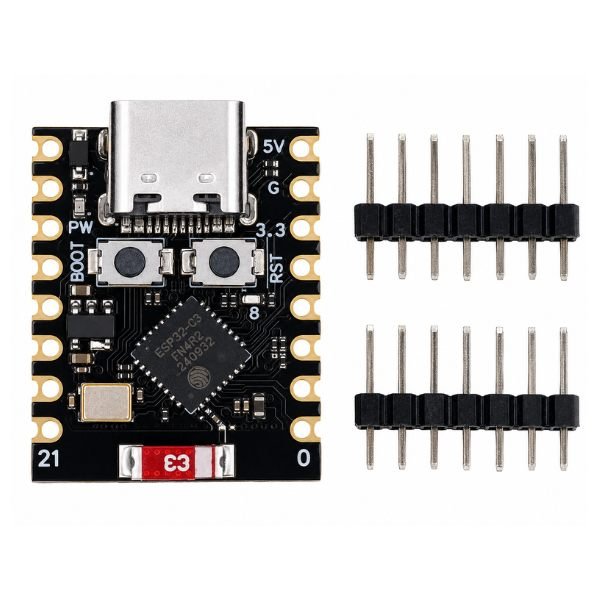
ESP32 C3 Super Mini Development Board with Wi-Fi and Bluetooth
In stock
Original price was: ₹340.00.₹265.00Current price is: ₹265.00. (Inc. GST)
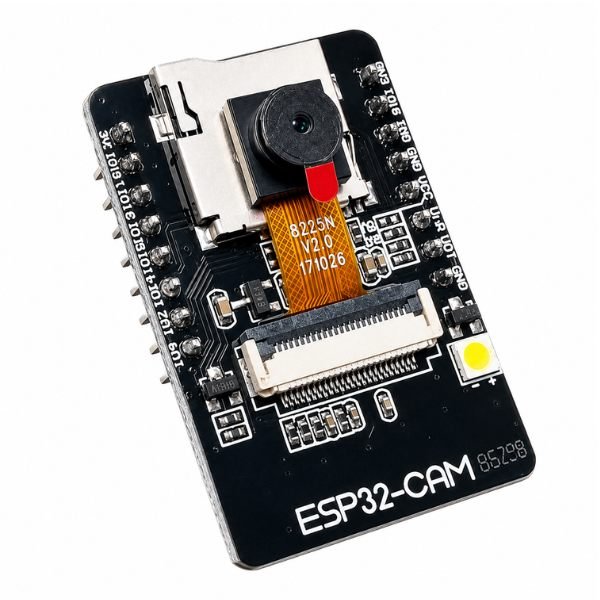
ESP32 CAM Board with OV2640 Camera Module – WiFi & Bluetooth Support
In stock
Original price was: ₹739.00.₹650.00Current price is: ₹650.00. (Inc. GST)
ESP32 WROOM 38 Pin WiFi Bluetooth Development Board
In stock
Original price was: ₹472.00.₹415.00Current price is: ₹415.00. (Inc. GST)
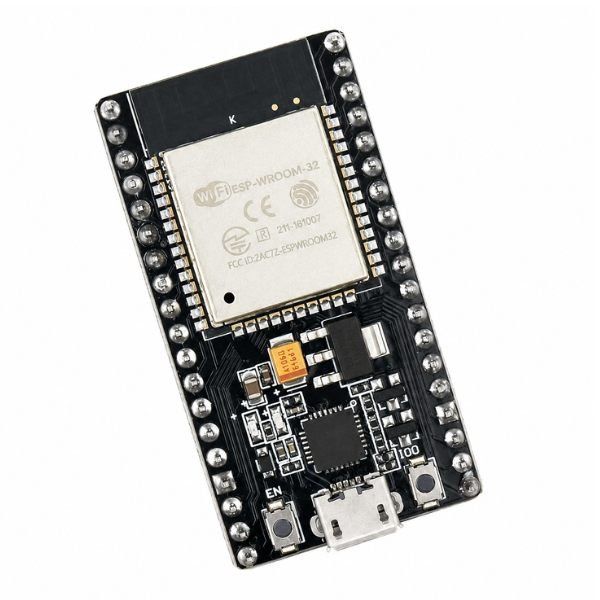
ESP32 WROOM Development Board WiFi + Bluetooth – 30 Pin
In stock
Original price was: ₹476.00.₹400.00Current price is: ₹400.00. (Inc. GST)
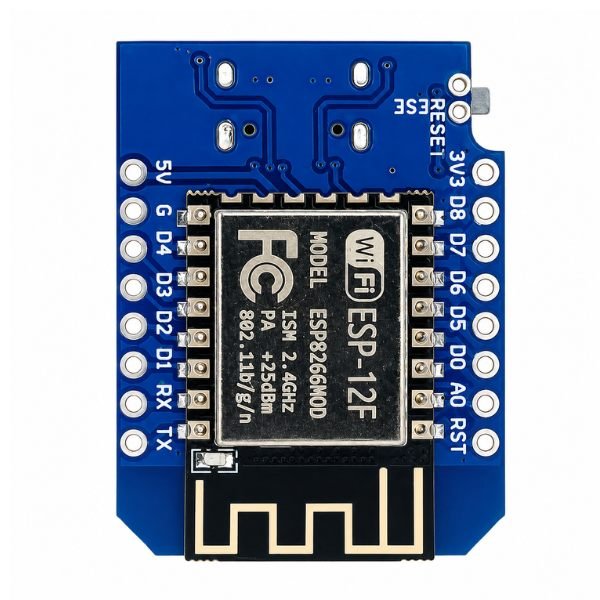
ESP8266 D1 Mini V2 WiFi Microcontroller Board
In stock
Original price was: ₹278.00.₹225.00Current price is: ₹225.00. (Inc. GST)
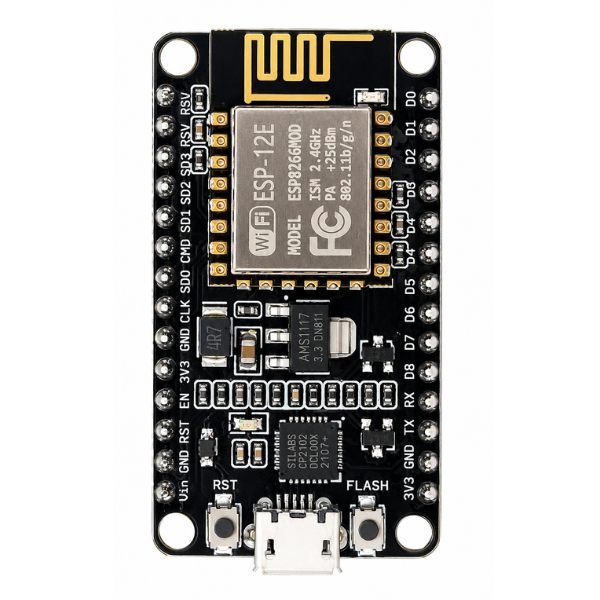
ESP8266 Node MCU 12E AMICA – Best IoT Board
In stock
Original price was: ₹351.00.₹295.00Current price is: ₹295.00. (Inc. GST)

L293D Motor Driver Board for ESP8266 NodeMCU
In stock
Original price was: ₹180.00.₹160.00Current price is: ₹160.00. (Inc. GST)