


Line Follower Robot Car with Arduino
Introduction
In the journey of every aspiring robotics engineer, the Line Follower Robot is a rite of passage. It is often the first project where a student moves beyond blinking LEDs and begins to understand how software interacts with the physical world. A line follower is an autonomous vehicle that detects and follows a visual line—typically black on a white surface or vice-versa—using infrared sensors.
This project is highly significant because it introduces the core pillars of robotics: sensing, processing, and actuation. For students across India, building a robot car kit provides hands-on experience with control logic and mechanical assembly. From high-school science fairs to university-level engineering labs, the line follower is a foundational experiment that mirrors real-world automated guided vehicles (AGVs) used in modern warehouses and factories. At StemVolt, we believe that mastering this simple arduino robot kit is the first step toward designing the complex automation systems of the future.
What is a Line Follower Robot?
A Line Follower is a machine designed to follow a path. Unlike a remote-controlled car, it makes its own decisions based on sensor data. To build one, you need a stable base, which is where a high-quality robot car chassis comes into play. The chassis holds the motors, wheels, battery, and electronic boards in place, providing the physical structure needed for movement.
The beauty of a line follower lies in its simplicity. It doesn’t require complex cameras or GPS; it relies on the principle of light reflection. By using an arduino robot kit, you can program the “brain” of the car to interpret signals from infrared (IR) sensors and adjust the speed of individual motors to stay on track. This makes it an ideal entry point for anyone interested in STEM (Science, Technology, Engineering, and Math) education.
How the Line Follower Technology Works
The working principle of a line follower is rooted in the physics of Infrared light. The robot uses IR sensor modules, which consist of an IR LED (transmitter) and a Photodiode (receiver).
-
Reflection: The IR LED emits infrared light toward the ground.
-
Surface Detection: White surfaces reflect most of the IR light, while black surfaces (the line) absorb it.
-
Signal Processing: The photodiode detects the amount of reflected light and sends a voltage signal to the arduino microcontroller.
-
Logic Execution: If the left sensor detects black and the right sensor detects white, the Arduino tells the motor driver to turn the robot to the left.
This constant “read-and-react” loop happens hundreds of times per second, allowing the robot car kit to glide smoothly along a curved path.
Key Components of a Robot Car Kit
To build a reliable line follower, an engineer must select the right parts. Here’s a breakdown of the essential hardware:
-
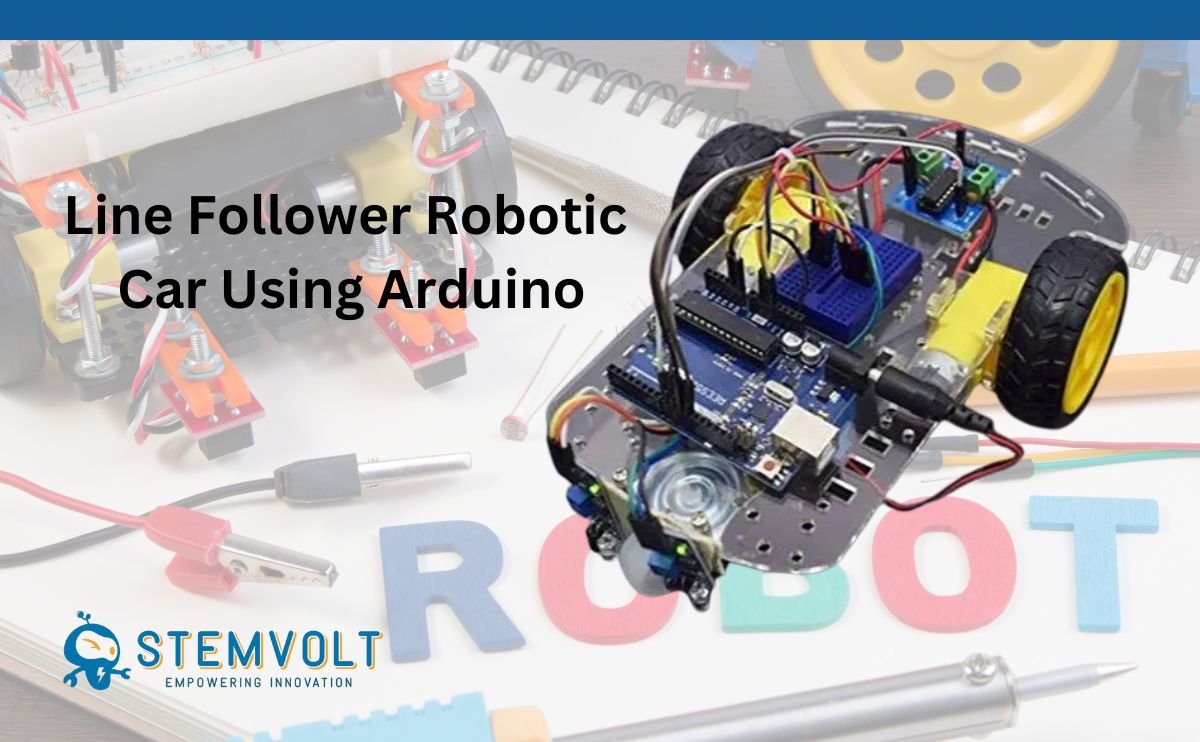
The Brain: Usually an Arduino Uno or Nano development board.
-
The Sensors: A 2-channel or 5-channel IR sensor array.
-
The Motor Driver: Components like the L298N or L293D are used to provide the high current needed by the motors.
-
The Power Source: A Li-ion battery pack (7.4V or 11.1V) is preferred over standard 9V alkaline batteries for better current discharge.
-
The Mechanical Base: A sturdy robot car chassis kit made of acrylic or aluminum.
For beginners, selecting a kit that includes the mechanical components is vital. Using a 2WD Smart Mini Round Robot Car Chassis DIY Kit is an excellent way to ensure your wheels and motors are perfectly aligned from the start.
Technical Explanation: Engineering the Logic
From an engineering perspective, the line follower is a “closed-loop” control system. The microcontrollers act as the central processing unit, but they cannot drive the motors directly due to current limitations. This is why we use motor drivers.
When wiring your robot, you will use resistors (often built into the sensor modules) to manage signal stability. The development boards read the digital or analog output from the sensors. A simple “If-Else” logic usually suffices for beginners, but advanced developers often implement PID (Proportional-Integral-Derivative) Control. PID allows the robot to make smoother turns and maintain higher speeds without overshooting the line, which is a common challenge in competitive robotics.
Practical Use Cases and Real-World Applications
While the line follower might look like a toy, the underlying technology is used extensively in professional fields:
-
Automation Systems: AGVs (Automated Guided Vehicles) in companies like Amazon use similar path-following technology to move heavy pallets across warehouses.
-
STEM Learning: It is a staple in robotics kits for schools, helping students visualize mathematical concepts like coordinates and angles.
-
Engineering Labs: Used to test different sensor algorithms and power management strategies.
-
Medical Facilities: Some hospitals use line-following carts to deliver medicines and laundry autonomously along pre-marked floor paths.
Explore Quality Robot Kits at StemVolt
Choosing the right robot car chassis kit is crucial for the stability of your project. A wobbly chassis will lead to sensor errors and poor tracking. At StemVolt, we offer a variety of options to suit different project scales:
-
For Beginners: Check out the 2WD Smart Mini Round Robot Car Chassis DIY Kit for a compact and easy-to-assemble start.
-
For Advanced Makers: Explore the 4WD Double Layer Robot Car Chassis Kit, which offers more space for extra sensors and larger batteries.
-
For Heavy Duty/Off-road: Check out the 6-Wheel Tank DIY Robot Chassis Kit for maximum grip.
-
Browse Categories: * Explore more: Robotics Kits Category
-
Find your base: Robot Chassis Kits
-
Beginner Tips for Building Your First Robot Car
-
Sensor Calibration: Most IR sensors have a small potentiometer (screw). Adjust it so the LED on the sensor triggers exactly when it passes over the black line.
-
Lighting Conditions: Sunlight contains IR radiation. If your robot behaves erratically near a window, try shielding your sensors or testing in an indoor environment.
-
Cable Management: Use zip ties to secure your wires. Loose wires can get caught in the robot wheels or pull out of the arduino board mid-run.
-
Weight Distribution: Ensure your battery is mounted in the center of the robot car chassis. If the robot is too heavy on one side, it will struggle to turn consistently in both directions.
-
Clean the Track: Dust on the floor can interfere with IR reflection. Keep your track clean for the best performance.
Conclusion
Building a Line Follower Robot Car with Arduino is one of the most rewarding experiences for any electronics enthusiast. It combines the thrill of assembly with the challenge of coding, resulting in a machine that feels “alive” as it navigates its path. Whether you are using a basic robot kit for a school project or building a custom arduino robot kit for a competition, the journey teaches you invaluable lessons in troubleshooting and system integration.
By starting with a solid robot car chassis and quality components from StemVolt, you ensure that your project is built to last. Robotics is a field of constant iteration—don’t be afraid to fail, tweak your code, and try again. That is exactly how great engineers are made.