


How to Use Arduino for Projects: A Complete Beginner’s Guide | Stemvolt
How to Use Arduino for Projects: A Complete Beginner’s Guide
In the world of electronics engineering, there is a clear “before” and “after” regarding the invention of the Arduino. Before its arrival, programming a microcontroller meant dealing with complex assembly language, expensive programmers, and steep learning curves. Today, whether you are a school student in Bangalore or a professional engineer in Mumbai, an Arduino board is the go-to tool for turning an idea into a working prototype within hours.
The reason Arduino matters so much is its ability to simplify the interaction between software and hardware. In real-world projects—ranging from automated plant watering systems to complex industrial robotics—the Arduino acts as the central nervous system. It bridges the gap between digital logic and physical action. For Indian learners, mastering the Arduino Uno board or its compact siblings is the first real step toward a career in Mechatronics, IoT, or Embedded Systems. At StemVolt, we see thousands of makers daily who use these controllers to solve local problems, proving that learning this technology is more than just a hobby—it’s a prerequisite for the modern innovator.
What is an Arduino Board?
When beginners ask, “What is Arduino board?“, I often describe it as a small, programmable computer that can be integrated into physical objects. Technically, it is an open-source electronics platform based on easy-to-use hardware and software. Unlike your laptop, which is designed for general tasks, an Arduino controller is designed to do one thing very well: read inputs (like a finger on a button or light on a sensor) and turn it into an output (like turning on an LED or driving a motor).
The ecosystem consists of two main parts: the physical hardware (the board) and the Arduino IDE (Integrated Development Environment) where you write your code. Because it is open-source, the community has created an endless library of resources, making it nearly impossible to get “stuck” on a project for long.
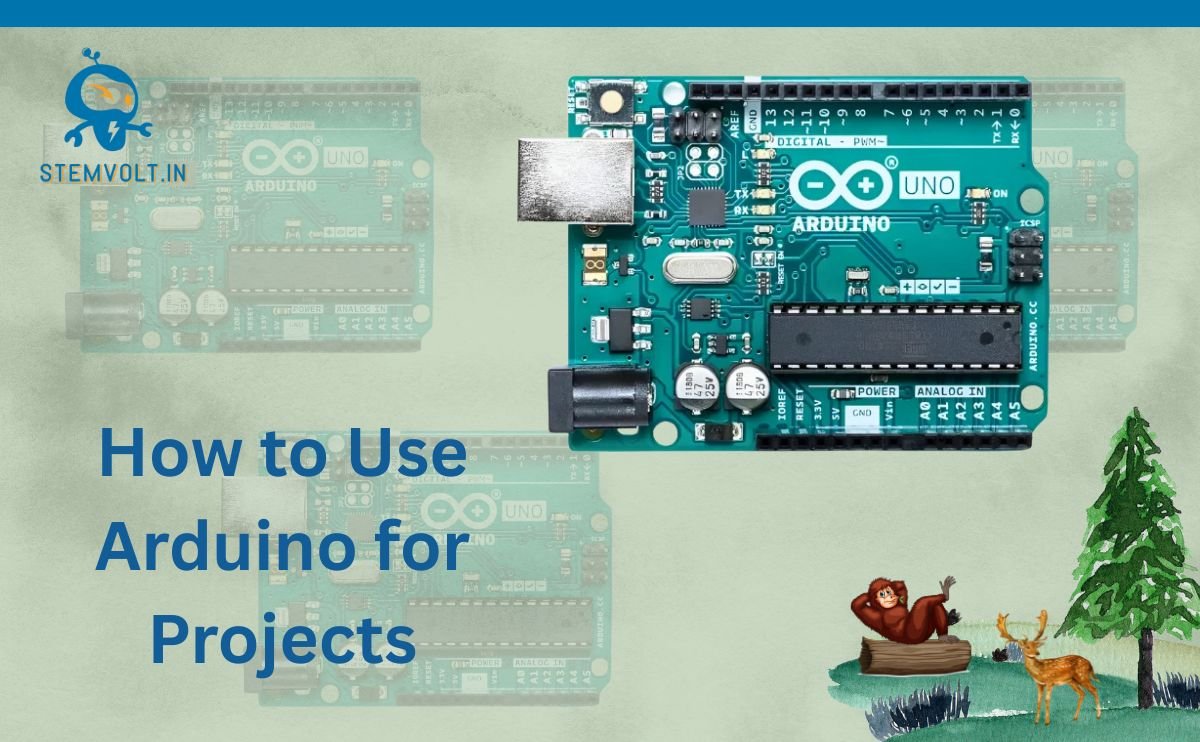
Common Types: Arduino Uno, Nano, and More
Not every project requires the same amount of power or size. Understanding which board to pick is crucial for engineering efficiency:
-
Arduino Uno Board: The flagship. If you are a student, this is likely where you will start. It has enough pins for most projects and is built to withstand the “mistakes” beginners often make during wiring.
-
Arduino Nano: Essentially an Uno shrunk down to the size of a postage stamp. It uses the same ATmega328P chip but is breadboard-friendly, making it ideal for compact projects where space is at a premium.
-
Arduino Leonardo: A unique board that can emulate a USB keyboard or mouse, perfect for custom gaming controllers.
-
Specialized Boards: For wearable electronics, the LilyPad series allows you to sew electronics into fabric.
Technical Deep Dive: The Engineering Behind the Board
To truly understand how an uno board functions, we need to look at its architecture. At its heart lies a microcontroller (usually the ATmega328P). Unlike a microprocessor (like the one in your phone), a microcontroller has its processor, memory, and Input/Output (I/O) peripherals all on a single chip.
The board operates on a loop. Once you upload your “sketch” (code), the Arduino executes instructions line-by-line from top to bottom, then starts again from the top. This happens thousands of times per second.
Key Integrated Components:
-
Digital I/O Pins: These can either be HIGH (5V) or LOW (0V). They are used for simple tasks like blinking an LED.
-
Analog Input Pins: These can read a range of voltages (0V to 5V). This is essential when working with sensors that provide variable data, like temperature or light intensity.
-
Voltage Regulator: Converts the incoming power (from a 9V battery or 12V adapter) into a steady 5V or 3.3V that the delicate chips can handle.
-
PWM Pins: Pulse Width Modulation allows the digital pins to “simulate” an analog output, which is how we control the speed of a motor or the brightness of a light.
Practical Use Cases in India
The versatility of the Arduino board makes it a staple in various sectors:
-
Engineering Labs: Used for teaching control systems and signal processing.
-
IoT Experiments: Connecting an uno board to a Wi-Fi shield allows students to upload sensor data to the cloud, creating “Smart Home” prototypes.
-
Automation Systems: In small-scale Indian industries, Arduinos often control conveyor belts or automated packaging machines using motor drivers like the L298N.
-
STEM Learning: Schools use these boards to teach logic and C++ programming through hands-on robotics.
Expand Your Project Capabilities
The true power of an Arduino comes from “Shields”—circuit boards that plug directly on top of your main board to add specific features.
Check Out These Essential Components:
-
For Advanced Connectivity: Official Arduino Uno R4 Minima (Made in India) or the Arduino Uno R4 WiFi for next-gen projects.
-
For User Interfaces: The 16×2 LCD Arduino Keypad Shield or a 2.4 Inch TFT Touch Display Shield.
-
For Wearables & Small Builds: The Arduino LilyPad or Arduino Leonardo R3.
Explore More Categories:
Beginner Tips for Navigating the Arduino World
As an engineer who has seen hundreds of fried boards, here are my top tips for longevity and success:
-
Mind the Voltage: Most Arduino boards operate at 5V, but many modern sensors work at 3.3V. Always use a level shifter or a resistor voltage divider to avoid damaging your components.
-
Never Wire While Powered: Always unplug your USB cable before adding or removing a wire from your breadboard. A single misplaced jumper wire can cause a short circuit.
-
Use External Power for Motors: Don’t try to power a DC motor directly from the Arduino’s 5V pin. Use an external battery and a motor driver to handle the high current.
-
Comment Your Code: Six months from now, you won’t remember why you wrote that specific “if” statement. Your future self will thank you for writing clear comments.
-
Check Your COM Ports: If your code won’t upload, 90% of the time it’s because you haven’t selected the correct Board or Port in the “Tools” menu of the IDE.
Conclusion
The Arduino board has democratized electronics. What once required a laboratory and a massive budget can now be accomplished on a student’s desk with a single arduino nano or uno board. It is the ultimate educational tool because it rewards curiosity and tolerates experimentation.
As you progress from blinking a simple LED to building complex IoT nodes or autonomous robots, you are developing the exact skills needed in the modern global economy. At StemVolt, we are proud to provide the genuine hardware and compatible accessories that fuel this innovation across India. Whether you are building for a school project or a professional startup, the journey starts with that first “Upload” button. Start small, build often, and don’t be afraid to break things—that’s how the best engineers are made.